...
...
Description of Gambio GX3
eKomi Plugin for Gambio allows you to integrate your Gambio shop easily with the eKomi system. This allows you to collect verified reviews, display eKomi seal on your website and get your seller ratings on Google. This helps you increase your website's click-through rates, conversion rates and also, if you are running Google AdWord Campaigns, this helps in improving your Quality Score and hence your costs per click.
Key Features
Get Google Seller Ratings.
- Supports Simple, Grouped and Bundle products
- Easy Integration with eKomi.
Increase click-through Rate rate by over 17%
Increase Conversion RateKey Features.
Collect order and product base Reviews.
Publish reviews on search engines: Google, Bing, Yahoo!
- Manage Reviews: our team of Customer Feedback Managers reviews each and every review for any terms which are not allowed and also put all negative reviews in moderation.
Compatibility
Gambio GX3.0 and above. Tested on GX3.0 to GX3.6.
All versions of Gambio 4 up to 4.5.2 (latest one) for the open source version. Gambio created SaaS based version Gambio Cloud (released January 2022) but for this one we don’t have a plugin yet.Download Plugin
- For Gambio GX3.06.x and above
12032018View file name
gambioGX3.0-ekomi-integrationEkomiIntegration- GX3.6.zip height 250 Gambio GX3.1 and aboveto GX 3.5.x
View file name 12032018eKomi-Integration-gambioGX3GX3.1-ekomi-integration.zip height 250 - For Gambio GX3.0
View file name eKomiIntegration-GX3.0.zip height 250
- For Gambio GX3.06.x and above
Plugin Installation
4.1. If you don't have an account with eKomi please register with us from https://store.ekomiapps.de/en/register
4.2. Installation guidesPlugin Installation (Admin Panel/Backend)
- Download the plugin.
- Extract the zip file in a temporary directory.
- Copy the extracted files and paste in.
- For Gambio GX3.6 or above paste it in the Shopsystem / Dateien / GXModules folder
- For Gambio less than GX3.6 paste it in the root directory. - Log in to Admin Panel.
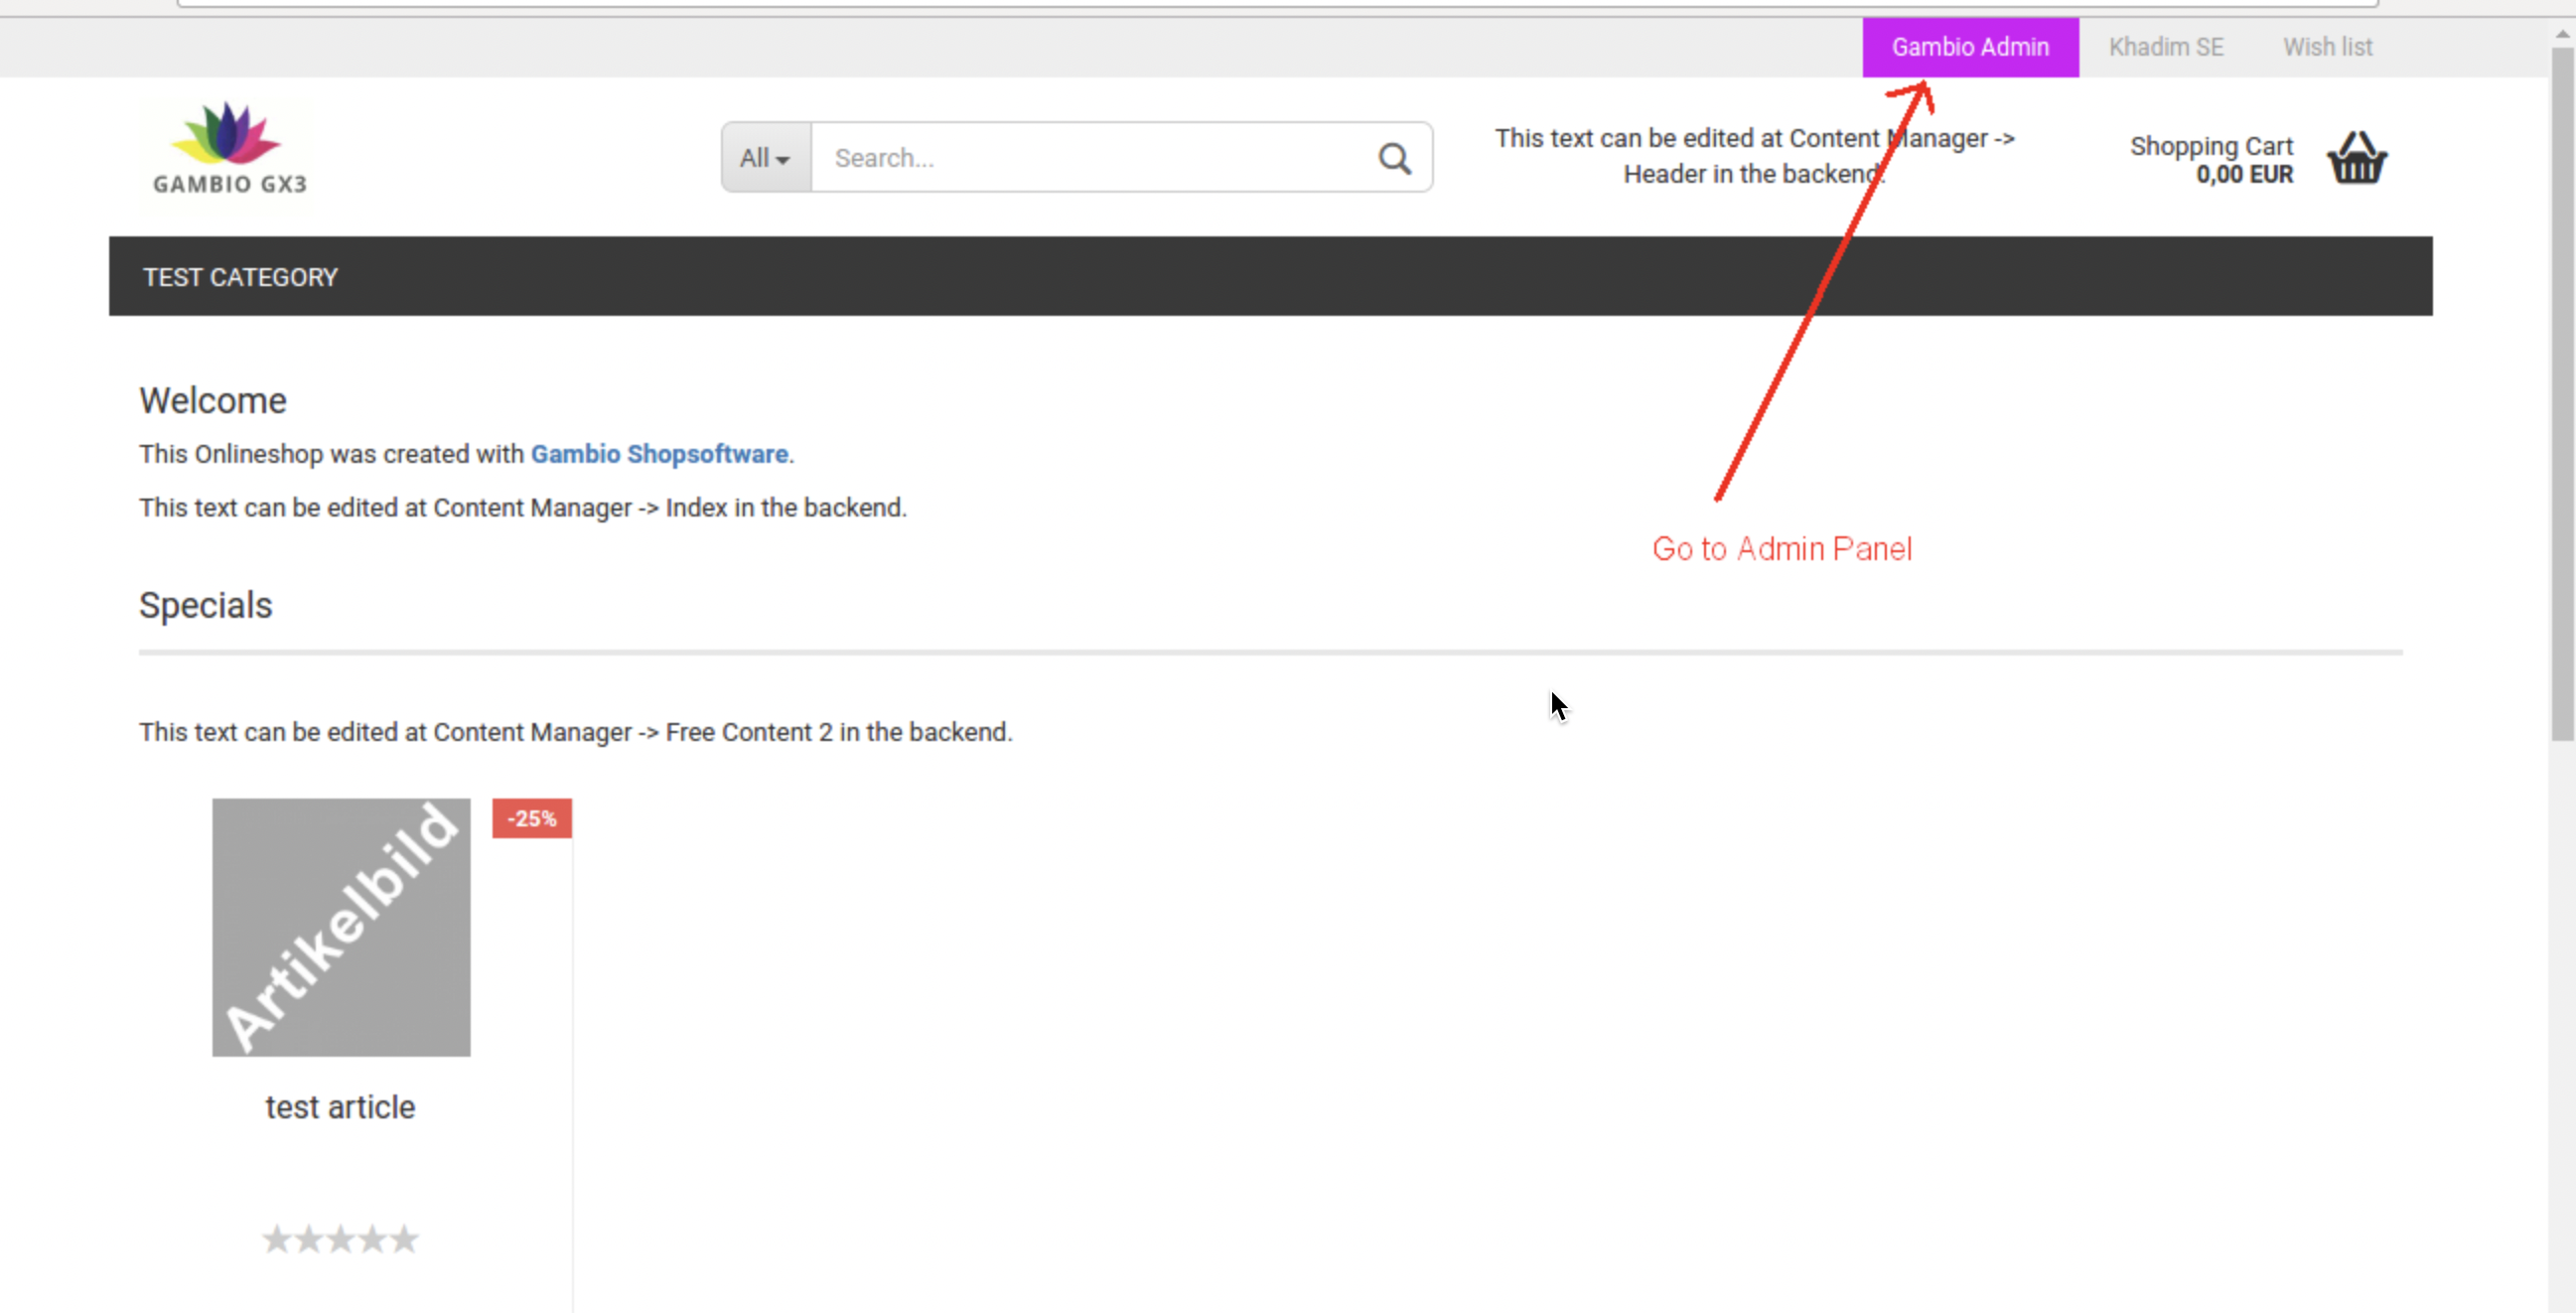
For Gambio version: 3.2.0.1, front end will look like:
For Gambio version: 4.5.2.1, front end will look like: Click on Toolbox.
- Clear Cache
- Go To Modules.
Admin dashboard in Gambio version: 3.2.0.1
Admin dashboard in Gambio version: 4.5.2.1 - Click on “eKomi Integration” Module
- Install Module
- Click on Edit button.
- Save Configurations
- Select Plug-in Enabled to Yes
- Insert eKomi shop Interface ID
- Insert eKomi shop Interface Password
- Choose Order Statuses on which you want to send information to eKomi.
- Select Collection Method. (for SMS, mobile number format should be according to E164)
- Enable / Disable Product Reviews ( if enabled, product attributes will also be sent to eKomi i.e. product id, name, image, and URL )
- SelectCollection Method. (for SMS, mobile number format should be according to E164)Choose Order Statuses on which you want to send information to eKomi Product Identifier (How do you identify the product?)
- Enter Exclude Products (Enter Product IDs/SKUs(comma separated) which should not be sent to eKomi)
- Agree / Disagree Terms and Conditions (Plugin will send data only if you agree with terms and conditions)
Note: Please contact support@ekomi-group.com if you want an opt-in function.
Set Enabled to “Yes” and save the configuration.
Display PRC widget
- Use FTP or access your files and Place the widget code provided to you by the Support team into the desired location or page.
Will display something like the following (keep in mind the picture below is just an example):
4.3. Plugin installation Videos
Troubleshooting
eKomi headquarters in Berlin is the best place to start if you need help with this plugin. There are technical support team will get you up and running in time. Please contact at support@ekomi-group.decom
Plugin Information
- Maintenance status: Minimally maintained
- Development status: Stable
- Downloads: 1000+
- Last modified: 12 March 2018 12 Jan 2022
Recommended releases
Version Download Date 2.1.1 zip (26.4 kB) 12 Jan 2022 2.1.0 zip (26.2 kB) 08 April 2021 2.1.0
zip (26.1 kB)
25 March 2021 2.0.1
zip (29.1 kB)
08 Jan 2020 2.0.0
zip (29.9 kB)
27 August 2019 1.0.2
zip (17.1 kB)
12 March 2018
...


